
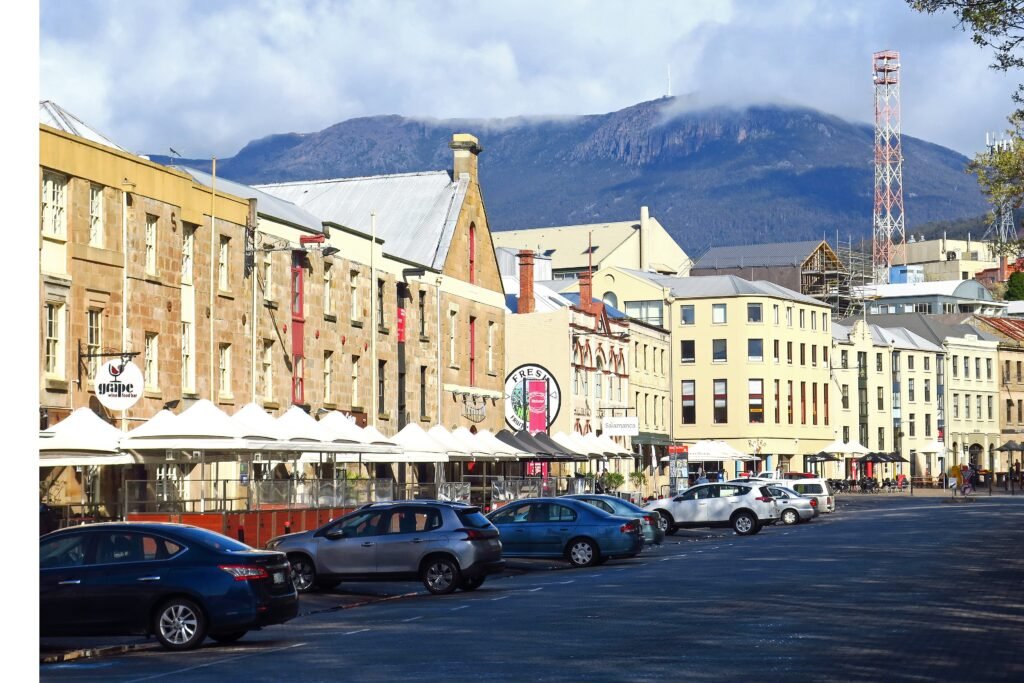
A compact chain from Salamanca to Franklin Square carries most first-time sightseeing through adjacent waterfront and CBD blocks. Parliament House, Brooke Street Pier, Constitution Dock, and TMAG sit along that short central sequence. Battery Point rises immediately behind Salamanca, with Kelly’s Steps providing the fastest shortcut into its narrow residential streets. North Hobart extends the pattern uphill along Elizabeth Street rather than forming part of the waterfront core. The Botanical Gardens sit farther north, about two kilometres from the CBD, and need a separate walk. MONA is farther again, eleven kilometres north, so its ferry belongs to transit planning rather than walking geography.
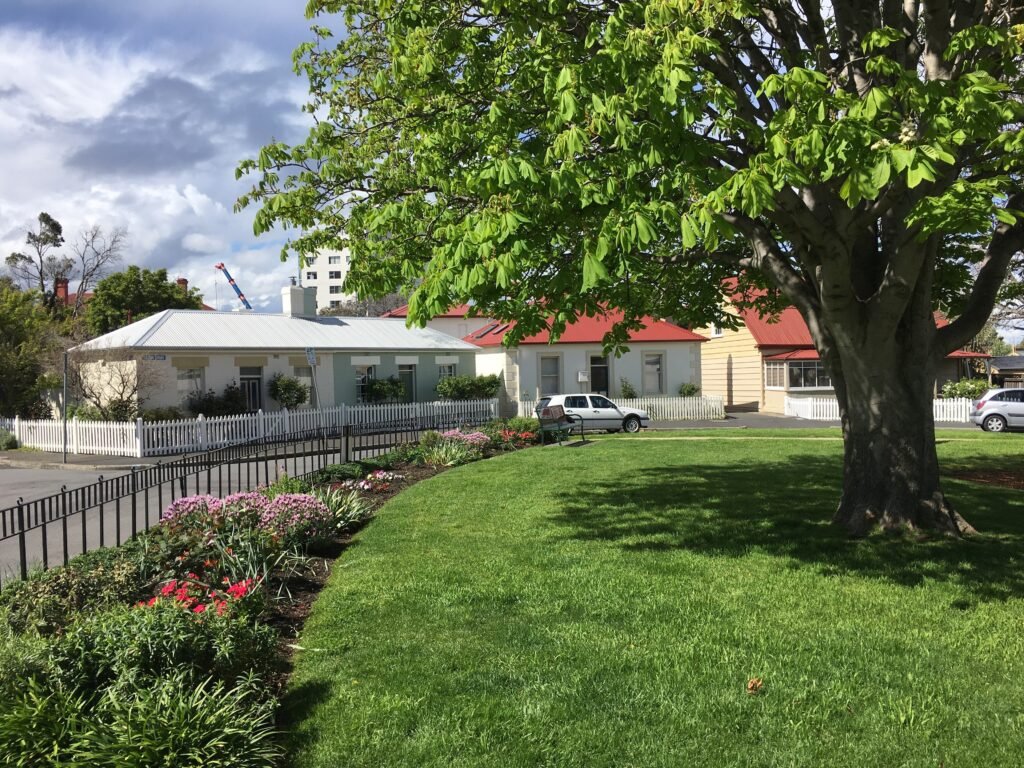
How Hobart’s Core Connects on Foot
The strongest walking chain runs from Salamanca through Parliament House and the working waterfront into the CBD. Brooke Street Pier, Constitution Dock and TMAG sit close enough that transit adds little value between them. Franklin Square then opens directly into the central street grid around Elizabeth, Liverpool, Collins and Murray streets. Recent permanent crossing changes at several CBD intersections improve pedestrian priority, although traffic and signal waits remain part of the experience.
Battery Point Is Close, but the Climb Is Real
Battery Point should not be treated as distant simply because it is uphill. Kelly’s Steps connect Salamanca directly with the neighborhood, making geography strong while increasing physical effort. Arthur Circus and Hampden Road sit within a compact residential loop above the waterfront. Narrower streets, older surfaces and variable footpath widths matter separately from the gradient. Recent accessibility works around De Witt Street and Hampden Road improve selected crossings without making every historic street uniformly easy.
CBD, Elizabeth Street and North Hobart
Central Hobart works as a small grid rather than a single pedestrianized district. Elizabeth Street is the clearest north-south spine, linking the CBD with Midtown and North Hobart. The city itself identifies this corridor as an important pedestrian connection. North Hobart remains a genuine extension, so a bus is useful when time or energy matters. Farm Gate Market fits naturally into the route on Sundays because it occupies Bathurst Street between Elizabeth and Murray.
The Botanical Gardens Are a Separate Walk
The Royal Tasmanian Botanical Gardens sit about two kilometres north of the CBD. Their official guidance gives roughly 30 minutes on foot from central Hobart. The recommended approach begins near the Liverpool Street underpass and continues through Soldiers Memorial Walk or Lower Domain Road. That is walkable for many visitors, but it is not part of the same tight Salamanca-to-TMAG core.
Best Areas to Stay Without a Car
Salamanca and the waterfront minimize walking to the strongest first-day sights and the MONA ferry. The CBD around Franklin Square balances sightseeing, bus access and airport transfers particularly well. Battery Point is still central, but stairs and slopes matter with luggage or limited mobility. North Hobart suits visitors comfortable with a longer walk or short bus ride to the waterfront.
Useful Walking Times
- Salamanca Place to Parliament House: about 3–5 minutes.
- Parliament House to Brooke Street Pier: about 5–7 minutes.
- Brooke Street Pier to Constitution Dock: about 4–6 minutes.
- Constitution Dock to TMAG: about 3–5 minutes.
- TMAG to Franklin Square: about 4–6 minutes.
- Salamanca to Arthur Circus via Kelly’s Steps: about 8–12 minutes, with a steep climb.
- Franklin Square to the North Hobart Elizabeth Street strip: about 20–25 minutes.
- CBD to the Royal Tasmanian Botanical Gardens: about 30 minutes and roughly two kilometres.
A 2-Day Walking Route
Day 1: Salamanca, Battery Point and the waterfront
Walking route
Day 1: Salamanca, Battery Point and the waterfront
- Salamanca Place and Salamanca Market
- Kelly's Steps
- Arthur Circus
- Hampden Road
- Parliament House
- Brooke Street Pier
- Constitution Dock
- Tasmanian Museum and Art Gallery
- Franklin Square
- Elizabeth Street Mall
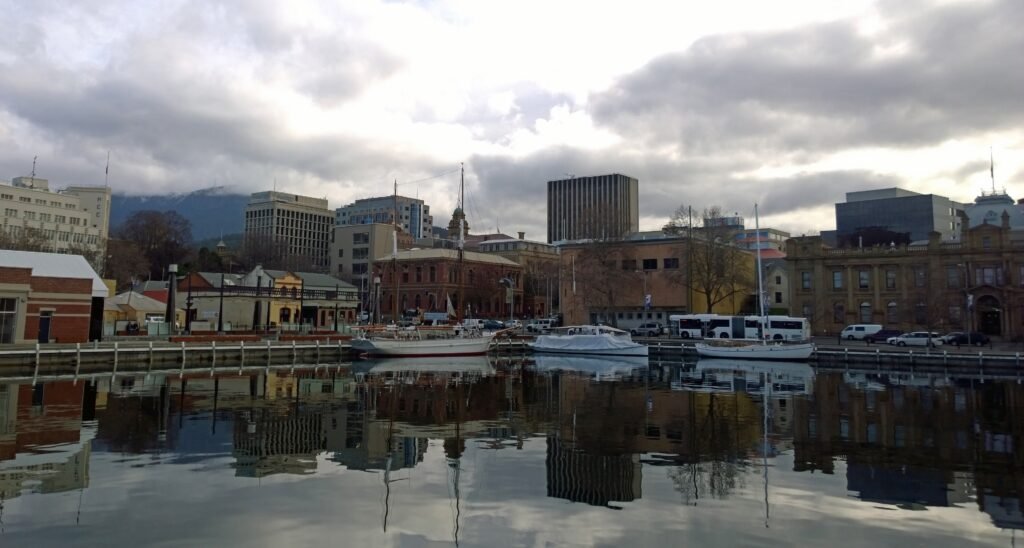
Start at Salamanca, using Saturday morning for the market when your weekend aligns. Climb Kelly’s Steps to Arthur Circus, then follow Hampden Road through Battery Point. Descend toward Parliament House and continue east along the waterfront. Brooke Street Pier, Constitution Dock and TMAG follow in a logical sequence. Finish at Franklin Square and Elizabeth Street rather than looping back to Salamanca.
Day 2: North Hobart to the Botanical Gardens
Walking route
Day 2: North Hobart, Elizabeth Street and the Botanical Gardens
- North Hobart / State Cinema area
- Elizabeth Street, North Hobart
- Farm Gate Market
- Elizabeth Street Mall
- Franklin Square
- Liverpool Street underpass / Soldiers Memorial Walk approach
- Royal Tasmanian Botanical Gardens
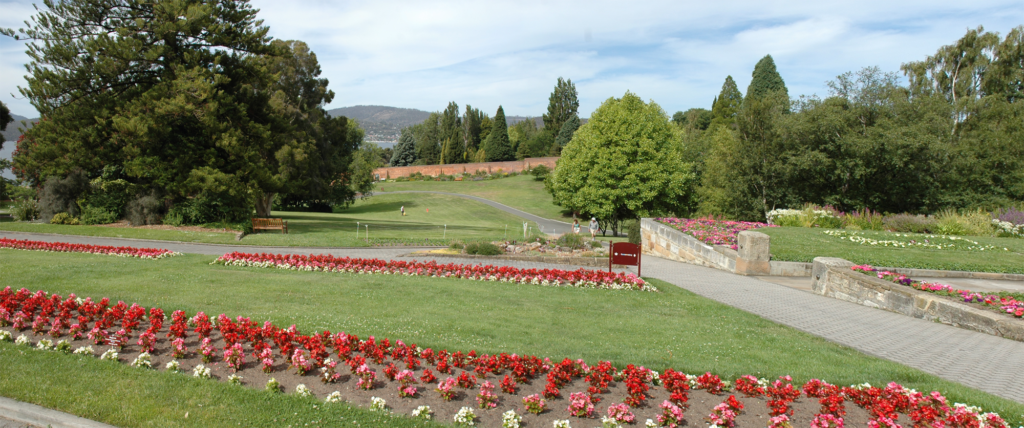
Take a Metro bus to North Hobart first, then walk south along Elizabeth Street. On Sunday, detour one block to Farm Gate Market on Bathurst Street. Continue through the CBD and Franklin Square, then turn toward the Liverpool Street underpass. Finish with the official Queens Domain approach to the Botanical Gardens. This one-way plan avoids retracing the northern corridor.
When Transit Helps
Metro buses matter most for North Hobart and longer suburban trips. The combined northern corridor is especially useful, with service every 20 minutes Saturdays and 30 minutes Sundays during daytime hours. The Bellerive ferry is useful across the Derwent, while MONA’s dedicated ferry handles a completely separate visitor trip.
MONA Is Not Part of the Walking Core
MONA sits eleven kilometres north of Hobart, well beyond a realistic central sightseeing walk. Its high-speed ferry leaves Brooke Street Pier several times daily and takes roughly 30 minutes. That makes MONA easy to add without a car, but it does not make central Hobart geographically larger. Plan the museum as a separate half-day or longer outing.
Getting From Hobart Airport Without a Car
SkyBus provides the main public-transport connection between Hobart Airport and central Hobart. The journey takes about 30 minutes and serves several convenient central stops, including the waterfront area. Check the latest stop list and timetable before travel because operating patterns can change.
When a Car Helps
A private car is unnecessary for the central two-day plan. It becomes much more useful for kunanyi / Mount Wellington, Richmond, Bruny Island, Port Arthur, Bonorong and Huon Valley trips. Those are separate regional excursions rather than extensions of a central Hobart walking weekend. Renting only for the excursion portion avoids carrying a vehicle through the compact central weekend.
Limitations and Walking Tips
- Expect the easiest walking on the waterfront, then a quick increase in gradient behind Salamanca.
- Use Kelly’s Steps for directness, but choose a gentler street route if stairs are unsuitable.
- Allow extra time on narrow Battery Point footpaths and older surfaces.
- Use Metro for North Hobart when energy matters; transit does not make the neighborhood geographically central.
- Check local notices for Botanical Gardens, street or waterfront works that could alter your planned route.
Seasonal Context
Hobart’s waterfront can feel cool, windy and exposed even when distances are short. Layering matters more than the mileage suggests, especially outside summer. Rain and seasonal cold can also make Battery Point climbs and longer northern walks less comfortable.
Bottom Line
Hobart works best as a compact waterfront-and-CBD weekend with two deliberate extensions. Salamanca, Battery Point and the docks reward walking first. North Hobart and the Botanical Gardens need more time, while buses can reduce effort. MONA remains an easy car-free excursion by ferry, but it belongs outside the pedestrian core.